
DIY Guide: How to Tackle the P0138 Code in Your Garage
The P0138 code is a common diagnostic trouble code (DTC) that indicates a high voltage condition in the oxygen sensor circuit of Bank 1 Sensor 2. This sensor is essential for monitoring the oxygen levels in the exhaust gases and ensuring the efficiency of the catalytic converter. Error codes like P0138 are crucial for pinpointing issues within the vehicle’s systems, including problems with the wiring harness connected to the sensor. Tackling this issue in your garage is entirely feasible with the right guidance and tools. This DIY guide will walk you through the process of diagnosing and fixing the P0138 code, ensuring your vehicle runs smoothly and efficiently.
Understanding the P0138 Code
What is a P0138 Code?
The P0138 code signifies that the voltage of the downstream oxygen (O2) sensor is higher than the expected range, typically indicating too much oxygen in the exhaust gas. This could be due to a faulty downstream O2 sensor, wiring issues, or exhaust leaks. The downstream O2 sensor plays a critical role in monitoring the air-fuel mixture and ensuring optimal engine performance. When this sensor sends a high voltage signal, it usually points to an overly rich air-fuel mixture, which could be caused by several factors.
Importance of Oxygen (O2) Sensors
Oxygen (O2) sensors, including the downstream O2 sensor, are crucial for maintaining optimal engine performance and emissions control. They provide real-time data on oxygen content to the engine control unit (ECU) to adjust the air-fuel mixture, ensuring efficient combustion and reducing harmful emissions. Proper functioning of these sensors helps in achieving better fuel economy, reduced emissions, and smoother engine operation. Without accurate readings from the O2 sensors, the ECU cannot correctly adjust the air-fuel ratio, leading to poor engine performance and increased pollution.
Symptoms of P0138 Code
Common Symptoms
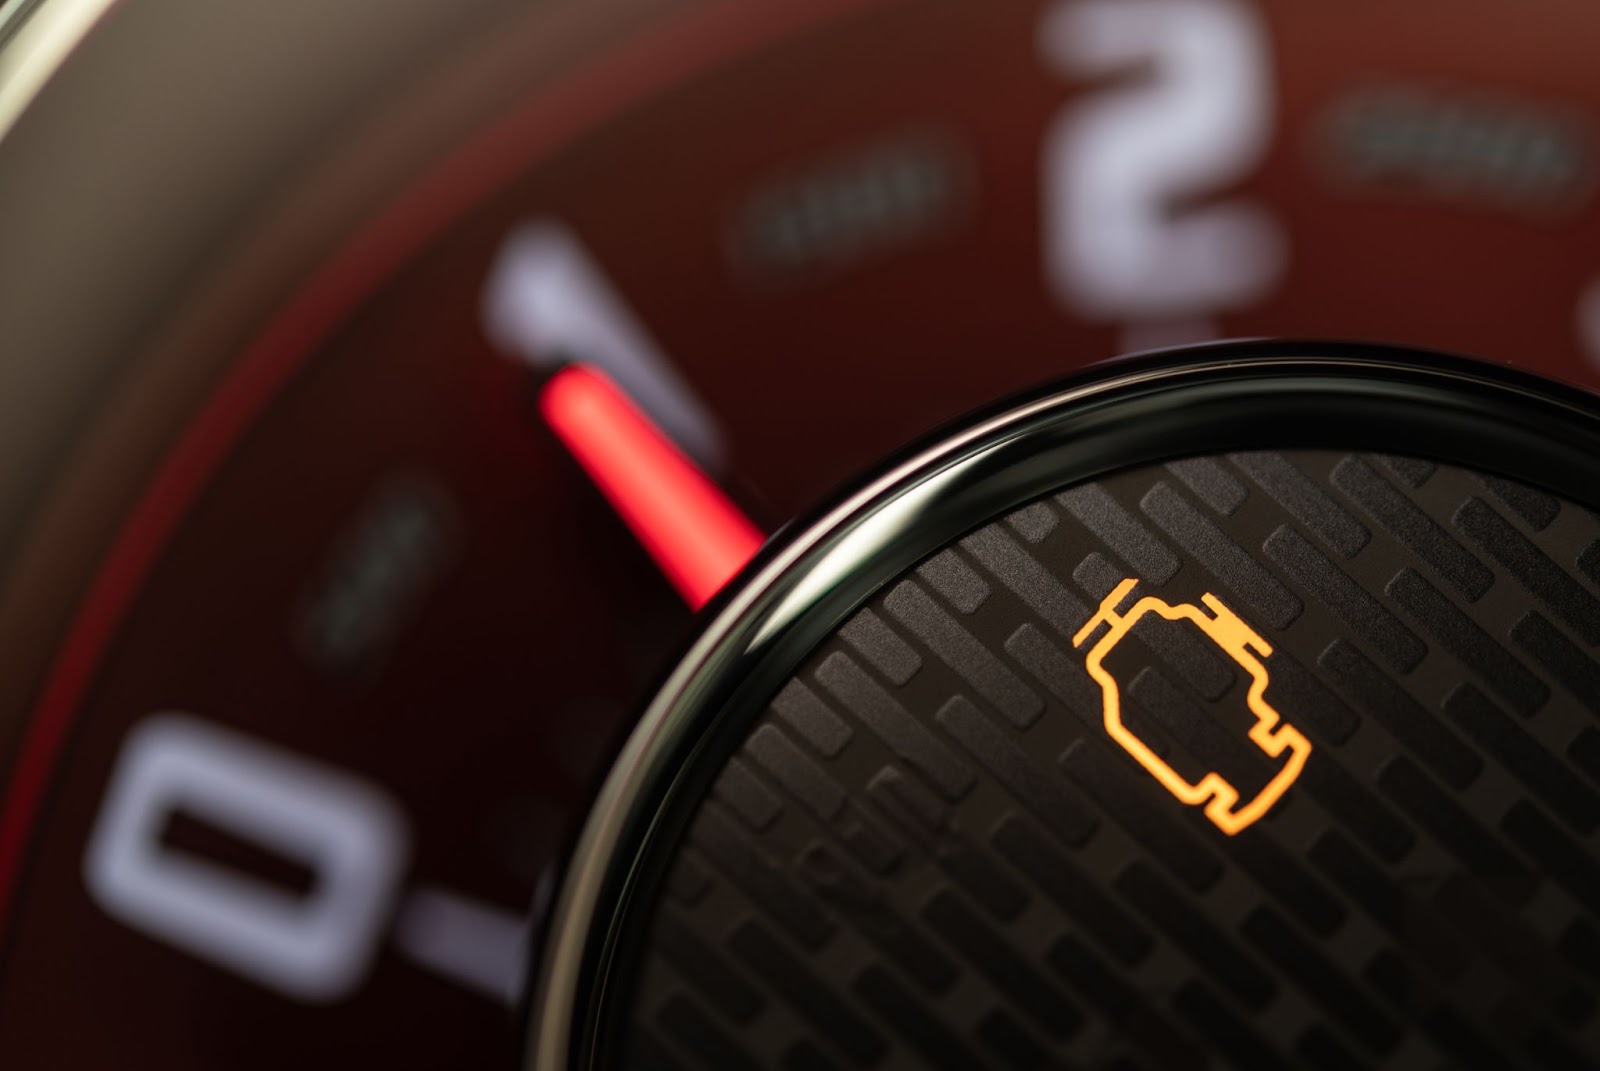
- Check Engine Light (CEL): The most immediate indicator is the CEL on your dashboard. This warning light can signify various issues, so it’s crucial to read the specific code using a code reader.
- Poor Fuel Economy: A malfunctioning sensor, whether upstream or downstream, can lead to an incorrect fuel mixture, causing increased fuel consumption. You might notice you’re filling up the tank more often than usual.
- Rough Idle: You might notice rough idling due to improper fuel combustion. The engine might run unevenly or feel like it’s sputtering.
- Increased Emissions: A faulty sensor, such as a heated oxygen sensor, can result in higher emissions, which could cause your vehicle to fail an emissions test. This is because the engine burns fuel less efficiently.
Identifying Symptoms
Monitor your vehicle’s performance and fuel consumption. Regularly scan your vehicle for DTCs using an OBD-II scanner, especially if the CEL illuminates. Pay attention to how the vehicle runs at different speeds and loads. Any noticeable changes in performance, especially those linked to fuel consumption and engine smoothness, should prompt further investigation.
Causes of P0138 Code
Faulty Oxygen Sensor: The most common cause is a faulty oxygen sensor. Over time, sensors can wear out or become contaminated, leading to incorrect readings. This can be due to prolonged exposure to high temperatures, exhaust contaminants, or simply the sensor’s lifespan reaching its limit. Replacing the sensor typically resolves the issue, but it’s essential to verify this with proper testing.
Wiring Issues: Damaged or corroded wiring and connectors can cause high voltage readings, triggering the P0138 code. It’s crucial to inspect all related wiring and connections. Look for any signs of wear, fraying, or corrosion, especially in areas exposed to heat and moisture. Sometimes, wiring issues can be intermittent, causing the CEL to turn on and off sporadically.
Exhaust Leaks: Leaks in the exhaust system before the oxygen sensor can cause incorrect readings and trigger the P0138 code. These leaks allow excess oxygen into the exhaust, leading to high-voltage signals. Common points of failure include gaskets, joints, and connections between exhaust components. A visual and auditory inspection can help identify these leaks.
Diagnostic Tools Needed
- OBD-II Scanner: An OBD-II scanner is essential for reading and clearing diagnostic trouble codes. It helps you pinpoint the exact issue and verify the repair. This tool can also provide freeze frame data, which shows the conditions under which the code was set, aiding in a more accurate diagnosis.
- Multimeter: A multimeter allows you to measure voltage and resistance in the oxygen sensor circuit, helping you determine if the sensor is functioning correctly. This tool is invaluable for checking the sensor’s output and comparing it against manufacturer specifications.
- Basic Hand Tools: Basic hand tools like screwdrivers, pliers, and wrenches are necessary for removing and replacing the oxygen sensor and related components. Having a proper set of tools ensures you can safely and efficiently perform the necessary repairs.
- Wiring Diagrams: Wiring diagrams are crucial for understanding the electrical layout of the oxygen sensor circuit. They help you trace and diagnose any wiring issues that may be causing the P0138 code.
- Electrical Contacts Cleaner: Cleaning electrical contacts ensures there is no dirt or corrosion that could interfere with the sensor’s signal.
- Upstream Sensor: Having a spare upstream sensor on hand can be helpful for comparing readings and ensuring that both upstream and downstream sensors are functioning properly.
- Exhaust Gas Analyzer: An exhaust gas analyzer can help verify that the air-fuel mixture is within the proper range and that the oxygen sensor readings are accurate.
Step-by-Step Diagnostic Process
Connecting OBD-II Scanner
- Locate the OBD-II Port: Usually found under the dashboard, the OBD-II port is where you connect the scanner to the vehicle.
- Establish Electrical Connection: Ensure the scanner is properly connected to the vehicle’s electrical system via the OBD-II port.
- Read Codes: Connect the scanner and read the stored DTCs. This will tell you if there are multiple issues or if P0138 is the primary problem.
- Record Codes: Note any additional codes that might help with the diagnosis. Sometimes, related codes can give you a broader understanding of what’s happening with the vehicle.
Interpreting Results
- Review Code Definitions: Refer to your vehicle’s service manual or the scanner’s documentation for code definitions. Understanding the specific issues the codes indicate is crucial for accurate diagnosis.
- Check Freeze Frame Data: Analyze the data recorded at the time the code was set. This can include information about engine load, RPM, temperature, and more, providing context for the conditions under which the fault occurred.
Visual Inspection
- Inspect Sensor and Wiring: Check the oxygen sensor and its wiring for visible damage or corrosion. Ensure connectors are clean and secure.
- Look for Exhaust Leaks: Examine the exhaust system for leaks that might affect sensor readings. Pay particular attention to areas around joints and gaskets, as these are common points for leaks to develop.

Testing and Replacing the Oxygen Sensor
Using a Multimeter
- Set Multimeter to Voltage: Set your multimeter to measure voltage.
- Test Sensor Signal: Probe the sensor’s signal wire while the engine is running. Ensure you follow safety precautions to avoid burns or electric shock.
- Compare Readings: Compare the voltage readings to the expected range (typically 0.1-0.9 volts). Consistently high readings suggest a problem with the sensor or related components.
Replacing the Oxygen Sensor
- Disconnect Battery: Prevent electrical shock by disconnecting the battery.
- Remove Old Sensor: Use a wrench to remove the faulty sensor. Some sensors might be difficult to reach and require special tools or extensions.
- Install New Sensor: Screw in the new sensor and reconnect the wiring. Ensure all connections are tight and secure to prevent future issues.

Resetting the Check Engine Light
- Clear Codes: Use the scanner to clear stored DTCs.
- Verify Fix: Start the engine and ensure the CEL remains off. Drive the vehicle for a short distance to confirm the issue is resolved and the CEL does not return.
Preventive Maintenance Tips
Regular Inspections
- Routine Sensor Checks: Regularly inspect oxygen sensors and related wiring. Early detection of issues can prevent larger problems down the line.
- Monitor Fuel Economy: Unusual drops in fuel economy can indicate sensor issues. Keep an eye on your vehicle’s performance and fuel consumption.
Keeping the Exhaust System Healthy
- Address Leaks Promptly: Fix any exhaust leaks as soon as they appear to prevent further damage.
- Use Quality Fuel: Using high-quality fuel can prevent sensor contamination and improve overall engine performance.
When to Seek Professional Help
Indicators for Professional Intervention
- Persistent CEL: If the check engine light returns after repairs, it might indicate a more complex issue.
- Complex Issues: Wiring issues or multiple related codes may require professional diagnostics to resolve.
Choosing a Mechanic
- Check Reviews: Look for mechanics with good reviews and certifications. A reputable mechanic will ensure quality service.
- Get Estimates: Compare estimates from different mechanics to ensure fair pricing. This helps you avoid overpaying for repairs.
Addressing the P0138 code in your garage is feasible with the right tools and guidance. By following this comprehensive DIY guide, you can diagnose and fix the issue efficiently, saving money and gaining valuable knowledge in the process. Always prioritize safety and take your time to ensure a thorough repair.
Take Action: Upgrade Your Auto Computers
For advanced diagnostics and reliable automotive solutions, visit SOLOPCMS.com to get your auto computers and ensure your vehicle’s optimal performance.