
Common Car Computer Issues: Tips for DIY Repair
Imagine the frustration when your car’s computer starts churning out error codes like a mischievous cryptographer. Understanding your vehicle’s brain can mean the difference between a quick fix and an expensive trip to the mechanic. This guide delves into car computer systems, offering practical DIY repair tips to help you troubleshoot and solve common electronic issues on your own, including maintaining brake pads, spark plugs, flat tires, the oil filter, the cabin air filter, the engine air filter, the tail light, brake fluid, and oxygen sensors.
Understanding the Importance of Code Readers
Understanding the importance of code readers for diagnosing problems with vehicles is critical for anyone looking to perform DIY car repairs or simply wishing to be informed before heading to the repair shop. Regardless of your skill level, when a vehicle’s check engine light illuminates, it indicates that the car’s onboard computer has detected an issue. A code reader plugs into the car’s onboard diagnostics port (OBD-II), allowing you to access the error codes that triggered the alert. These codes can help identify issues with various components, including coolant levels, the gas tank, and the fuel injector.
Benefits of Using a Code Reader
- Early Diagnosis: Quickly identify the cause of check engine lights.
- Money-Saving: Determine if the issue is something you can fix yourself or if professional assistance is needed.
- Time-Efficient: Eliminate the guesswork involved in pinpointing the problem.
- Maintenance Support: Helps maintain your vehicle’s maintenance schedule by alerting you to potential issues before they worsen.
Without a code reader, diagnosing modern vehicles can be complicated and may lead to expensive repairs due to undetected problems. Investing in a simple tool like a code reader can empower car owners to take charge of their vehicle maintenance and potentially avoid unnecessary trips to an auto repair shop.
How to Use a Code Reader to Identify Specific Issues
Using a code reader to identify specific issues in your vehicle can be a straightforward process. Here’s a concise guide:
- Locate the Onboard Diagnostics (OBD) Port: Usually found under the dashboard on the driver’s side of the vehicle.
- Plug in the Code Reader: With the vehicle off, connect the code reader to the OBD port.
- Turn on the Ignition: Switch the car to the “On” position without starting the engine. This powers up the code reader.
- Read the Codes: Follow the code reader’s instructions to retrieve the Diagnostic Trouble Codes (DTCs) stored in the vehicle’s computer system.
- Interpret the Codes: Use the code reader’s manual or an online database to understand what each code means and the area of the potential issue, such as emissions control, engine management, or fuel system. This can include issues with oxygen sensors or the drain plug.
- Take Action: Based on the code interpretation, decide if it’s a repair you can handle yourself or if a professional auto repair shop should tackle it.
It’s important to remember that while code readers provide diagnostic codes, they may not give the exact cause of the issue, requiring further troubleshooting. Consulting a repair manual or a professional may be necessary for more complex problems. Keep maintenance tasks such as tire pressure checks and regular oil and filter changes, air conditioning maintenance, and replacing cabin air filters, brake pads, spark plugs, flat tires, the oil filter, and the engine air filter on schedule to prevent some issues from occurring in the first place.
Cleaning the EGR Valve to Address Rough Idle
Cleaning the EGR (Exhaust Gas Recirculation) valve is a key maintenance task that can help address a rough idle in your vehicle. Over time, carbon buildup can prevent the EGR valve from operating efficiently, leading to performance issues.
Steps to Clean the EGR Valve
- Locate the EGR Valve: Refer to the vehicle’s repair manual to find the EGR valve’s exact location.
- Remove the EGR Valve:
- Disconnect the battery.
- Remove any components that may obstruct access to the EGR valve.
- Use the appropriate tools to carefully disconnect and remove the EGR valve.
- Clean the Valve:
- Carbon deposits can be removed using a commercial EGR valve cleaner or a mixture of carburetor cleaner and a brush.
- Ensure that the valve and its passages are completely clean before reassembly.
- Re-Install the EGR Valve:
- Reattach the EGR valve to its position, ensuring it is secure.
- Reconnect any components that were removed.
- Reconnect the battery.
- Test the Engine: Start the vehicle to check if the idle has improved.
Perform this task with care to avoid engine damage. If you’re not confident in cleaning the EGR valve yourself, consider visiting a repair shop. Regular maintenance like this can save money on repairs in the long run by avoiding expensive repair shop costs.
Replacing a Leaking Valve Cover Gasket to Prevent Damage
When dealing with a leaking valve cover gasket, prompt replacement is crucial to prevent damage to your vehicle. A compromised gasket can allow oil to leak, potentially causing harm to engine components and reducing fuel efficiency.
Replacement Steps
- Identify Issue: Look for oil buildup near the valve cover edges.
- Remove Components: Carefully take out any obstructing parts such as the spark plugs or wires.
- Unbolt Valve Cover: Use simple tools to remove the bolts on the valve cover.
- Clean Surface: Once removed, clean the valve cover and the cylinder head surface.
- Replace Gasket: Position the new gasket onto the valve head cover.
- Reassemble: Bolt the valve cover back in place, ensuring even torque to avoid damage.
- Reconnect Components: Reattach any components removed during the process.
- Check Work: Start the engine to verify the leak is fixed.
Follow the vehicle’s maintenance schedule and repair guidelines. If this DIY repair seems daunting, consult with an auto repair shop. Avoiding such repairs can lead to more expensive repairs at service bays later on.
Fixing a Stuck Power Antenna
When dealing with a stuck power antenna, the issue could be due to a jammed mechanism or a burned-out motor. Before starting any repair job, ensure the car is turned off and the keys are removed.
Steps to Fix a Stuck Power Antenna
- Examine the Antenna Mast: If it is bent or obstructed, straighten it out or remove the obstruction.
- Access the Motor:
- Remove the antenna motor from its housing, usually located in the trunk or near the fender.
- Check for any signs of damage or corrosion.
- Clean out any debris inside.
- Check the Motor: If the motor itself is not working, a replacement might be necessary. Consult your vehicle’s maintenance schedule or manual to identify the correct part.
- Reinstall the Motor: Test the antenna after reinstallation.
If the issue persists, consult a repair shop. DIY repairs can save money, but they require an understanding of the repair process and may involve special tools or simple tools. Always consult your vehicle’s manual or a maintenance guide before attempting repairs.
Solving Horn Problems
Addressing a malfunctioning horn is an important DIY car repair task. The horn is a crucial safety feature, and ensuring it works properly is key. Before starting any repairs, consult your vehicle’s maintenance schedule and manual for specific instructions.
Simple Guide to Solving Horn Problems
- Safety First: Disconnect your vehicle’s battery, including the negative cables, to prevent any electrical shocks or shorts.
- Check Fuse: Locate your vehicle’s fuse box and check the horn’s fuse. A blown fuse is easy to identify, and replacing it may solve the problem. Always replace it with a fuse of the same amperage.
- Inspect Horn Relay: If the fuse is not the issue, the relay could be the culprit. Swap the horn relay with another identical relay in your car to see if this resolves the issue.
- Horn Functionality: If the fuse and relay are working, test the horn itself. Look for physical damage or corrosion, and consider replacing it if it appears damaged.
- Wiring and Connections: Examine all related wiring and connections for any signs of wear or corrosion and clean or replace as necessary.
- Steering Wheel Check: Problems may also be within the steering wheel. Check connections here, but be cautious due to airbag systems.
Specialty tools may be required. If the repair job seems too complex, consider taking your vehicle to a repair shop to ensure safety and proper functionality.

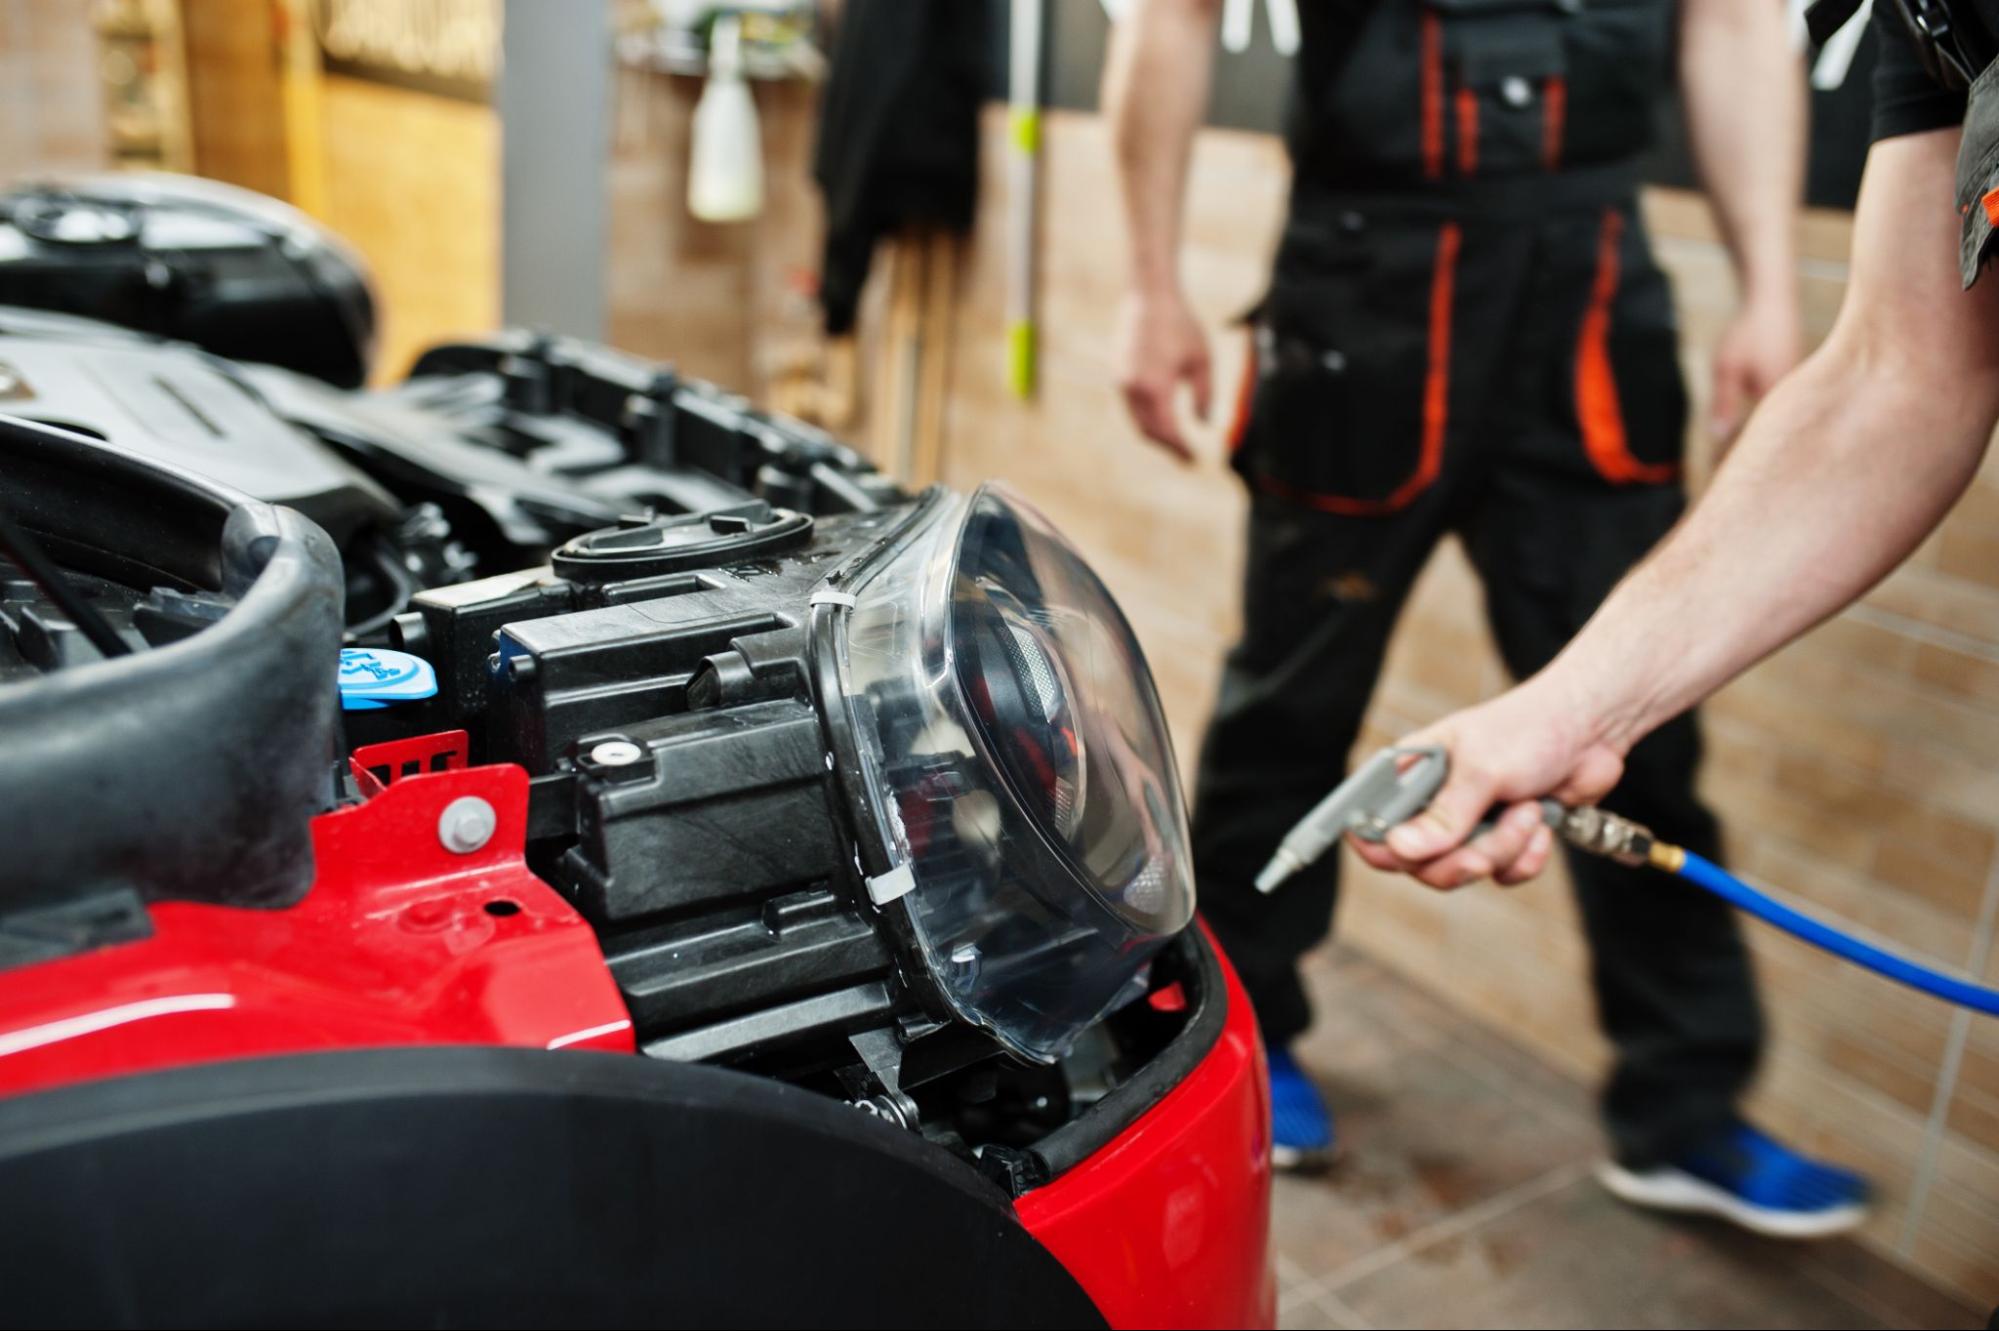
Clearing Up Cloudy Headlights
Cloudy headlights can impair visibility while driving and reduce the effectiveness of your lights. Fortunately, a simple DIY repair can restore clarity to your headlights.
Materials Needed
- Toothpaste (with baking soda)
- Tape
- Wet sandpaper (optional)
- Sponge or cloth
- Water
Steps to Clean Cloudy Headlights
- Clean Up: Wash the headlight area to remove any loose dirt.
- Tape: Use tape to protect the surrounding paintwork.
- Sand (if necessary): For severe cloudiness, wet the sandpaper and lightly sand the lens.
- Apply Toothpaste: Dab toothpaste on the sponge or cloth and rub it over the headlight in circular motions.
- Wash & Dry: Rinse the headlight thoroughly, and dry with a clean cloth.
- Inspect: If cloudiness persists, repeat the process.
Performing this DIY repair contributes to vehicle maintenance, avoiding expensive repairs at the repair shop. Clear headlights provide better night-time visibility, which can prevent accidents. This maintenance task is suitable for those with a basic maintenance schedule, avoiding the need for service bays and special tools. Regular headlight cleaning maintains the car’s safety features and aesthetic appeal.
Benefits of Addressing These Issues on Your Own
Vehicle maintenance is key to extending the longevity of your car and ensuring your safety on the road. While some intricate repairs require a certified auto repair shop, many simple vehicle repairs, such as replacing cabin filters, windshield wipers, and the fuel filter, and performing tire rotation, can be done at home with the right tools and knowledge.
Cost Savings: Learning and performing these repairs yourself saves money on labor costs. For example, a repair job involving the EGR valve, which may cost hundreds of dollars at a repair shop, might only cost you the price of the cleaner if done yourself.
Convenience: Handling simple repairs on your own schedule is more convenient than waiting for an appointment at a service bay. It allows you to address issues promptly without the need for long waits.
Knowledge and Empowerment: Understanding your vehicle’s mechanics gives you confidence and empowers you to tackle issues that arise. It also helps maintain a vehicle maintenance schedule, ensuring the car runs smoothly.
Preventive Care: Regular DIY maintenance can prevent minor issues from becoming major, more expensive problems. For example, addressing a leaking valve cover gasket early on can prevent engine damage and costly repairs down the line.
However, it’s crucial to recognize your limits and seek professional help when a repair job is beyond your skill set. Modern vehicles are complex, and sometimes, a trip to the repair shop is necessary to ensure safety and functionality.
Unlock the secrets of your car’s computer and save money with our comprehensive guide. Learn how to diagnose and fix common electronic issues yourself, from maintaining brake pads to using code readers.
 Read our blog for expert tips and start your DIY car repair journey today!